Introduction
Welcome to our friendly guide to architectural 3D visualization for beginners! In this blog post professional 3D rendering studio Cleanpix Graphics helps us explore the fascinating world of architectural visualization and 3D rendering, offering you an overview of the process and some useful tips to get started. Whether you’re an aspiring architect, a student, or simply someone curious about the magic behind stunning architectural 3D renders, this guide is for you.
What is Architectural Visualization?
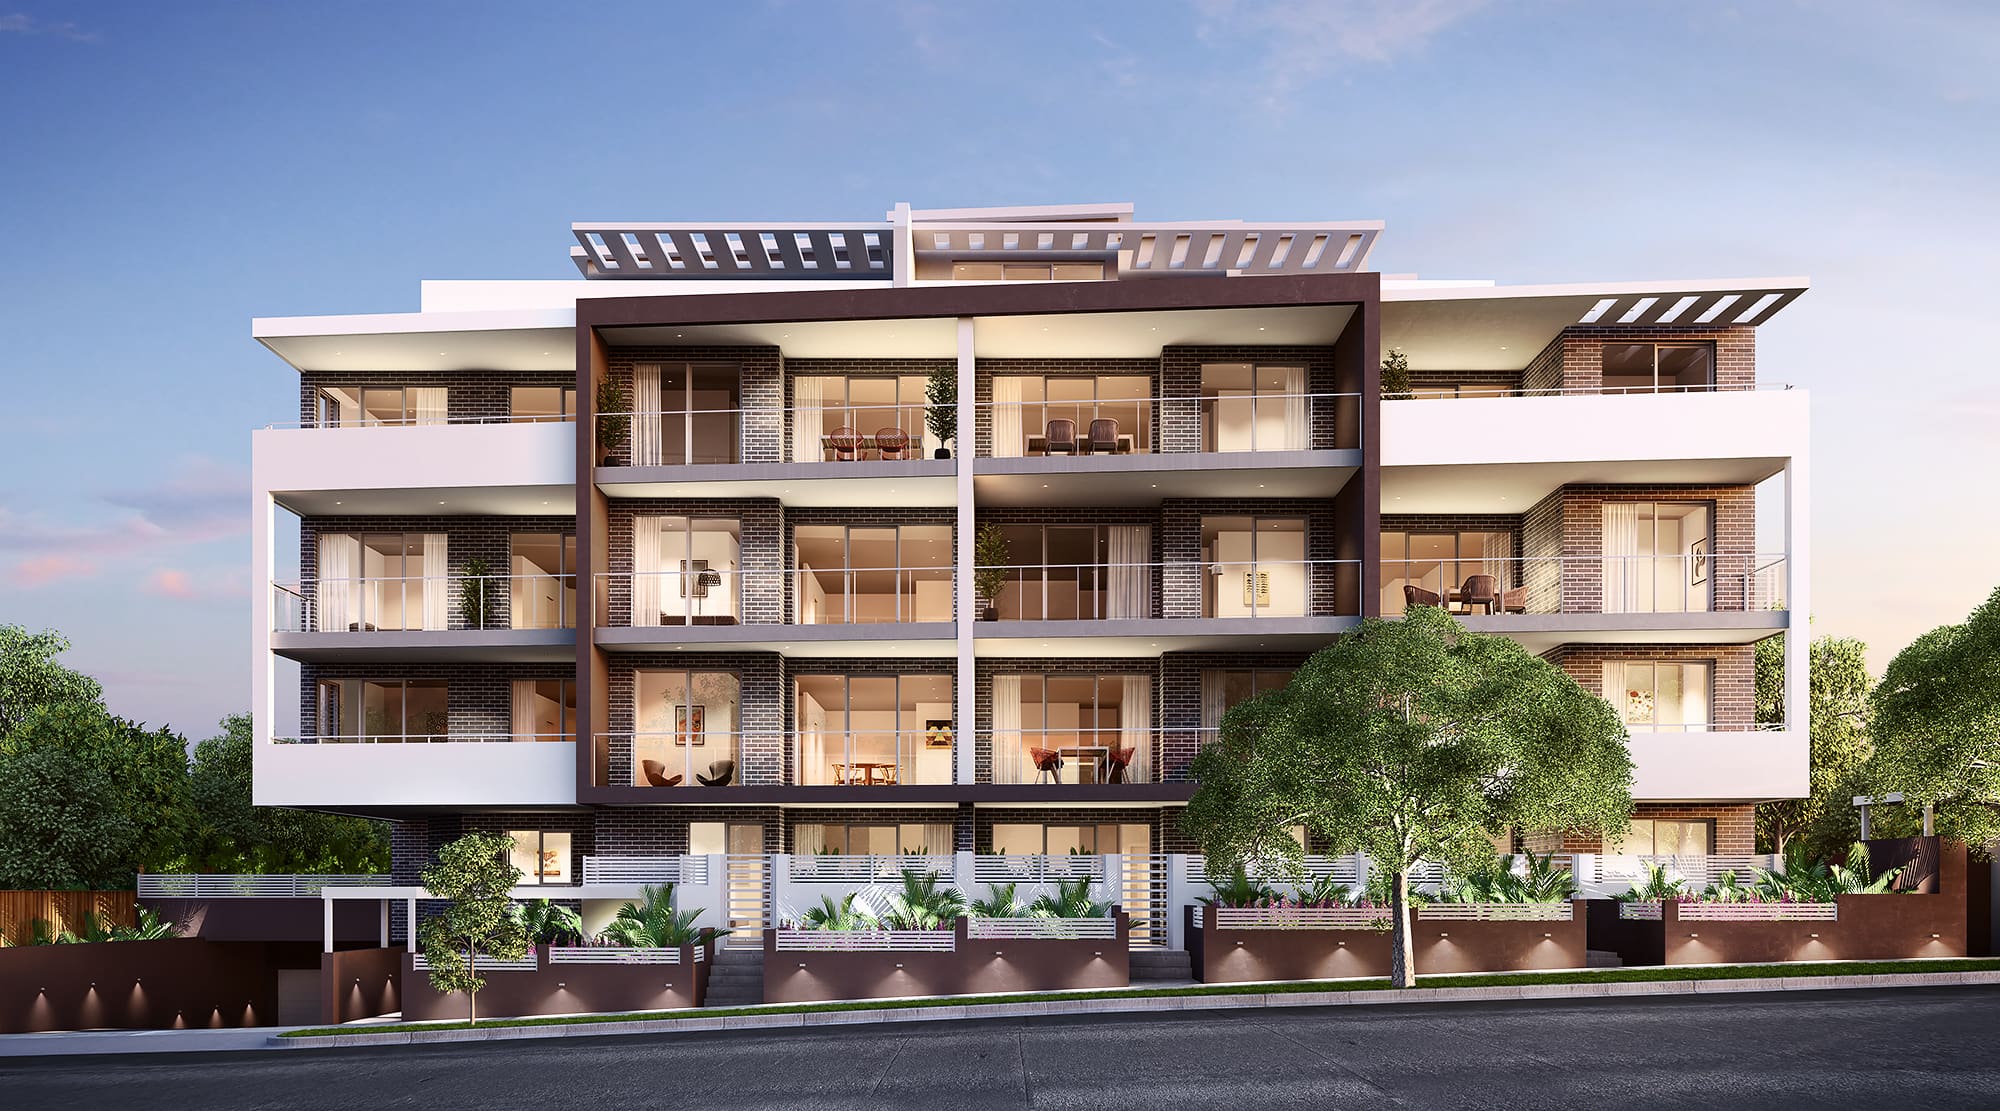
Architectural visualization is the art of creating realistic, visually appealing representations of architectural designs using various digital tools and techniques. It allows architects, designers, and their clients to visualize how a building or space will look like before it is actually constructed. By leveraging computer graphics and 3D rendering software, architectural visualization brings designs to life, helping stakeholders make informed decisions and communicate their ideas effectively.
The Power of 3D Rendering
At the heart of architectural visualization lies 3D rendering. This technology enables the creation of highly detailed and lifelike 3D models of buildings, interiors, and landscapes. With 3D rendering, architecture companies like Kelem Design can showcase their designs from different angles, experiment with materials, lighting conditions, and even simulate the real-world environment. This level of photorealism and flexibility makes architectural 3D renders an invaluable tool throughout the design and communication processes.
Understanding the Process
Architectural 3D visualization involves several key steps. Let’s dive into each one:
Concept Development
The process begins with understanding the client’s requirements and establishing the design concept. This phase includes research, gathering reference material, and brainstorming ideas. Architects and designers work closely with clients to ensure the visual representation aligns with their vision.
Modeling
Once a concept is finalized, the next step is to create a digital 3D model of the architecture. This involves using specialized software to build the structure’s geometry, adding details like windows, doors, and textures. Accurate modeling is essential to ensure a realistic end result.
Texturing and Lighting
After constructing the model, it’s time to add realistic textures and materials, such as wood, metal, concrete, or glass. The choice of materials greatly impacts the final look and feel of the architectural 3D render. Additionally, lighting is strategically placed to produce the desired atmosphere and highlight key design elements.
Setting up Cameras and Composition
Now, it’s time to define the camera angles and composition of the scene. Architects and designers work on finding the perfect viewpoints that effectively showcase the design’s strengths and key features while creating a visually pleasing composition.
3D Rendering
The rendering process involves converting the 3D model into a realistic 2D pixel image where the software makes calculations and applies lighting simulation and realistic material properties like reflections and refractions to the 3d geometry. This step can be CPU and GPU resource-intensive, requiring powerful hardware and rendering software. The time taken to render an image depends on the complexity of the scene and desired level of detail (image resolution).
Post-Processing
Once the initial render is complete, post-processing techniques are applied to enhance the image further. These techniques can include adjusting color balance, contrast, adding depth-of-field effects, and more. Post-processing helps refine the architectural 3D render and achieve a polished, professional look.
For a longer read and work in progress examples of the creation process, please read another great blog ‘Creating the Virtual World‘, by Cleanpix Graphics
Digital Presentation
Now that the final render is ready, it can be shared digitally with clients, collaborators, or the general public. Visualizations can be presented as static images, 360-degree panoramas, 3d floor plans, virtual reality experiences, or even animated walkthroughs.
Tips for Beginners
If you’re new to architectural visualization and want to get started, here are some helpful tips:
- Start with simple projects: Begin by visualizing smaller buildings or spaces to get comfortable with the tools and techniques.
- Learn 3D modeling and rendering software: Familiarize yourself with popular software like AutoCAD, SketchUp, 3ds Max, or Blender.
- Master lighting techniques: Lighting greatly influences the mood and realism of a render. Study lighting principles and experiment with different setups.
- Embrace the iterative process: Architectural visualization is an iterative process, so don’t be afraid to experiment and refine your designs.
- Continuously improve your skills: Engage in online tutorials, workshops, and forums to stay up to date with the latest industry trends and techniques.
Conclusion
Architectural visualization and 3D rendering are powerful tools that bring architectural designs to life. They enable architects, designers, and clients to visualize and communicate ideas effectively. By understanding the process and following some best practices, beginners can embark on their journey into the world of architectural 3D visualization. So go ahead, explore, create, and turn your sketches into stunning architectural realities!